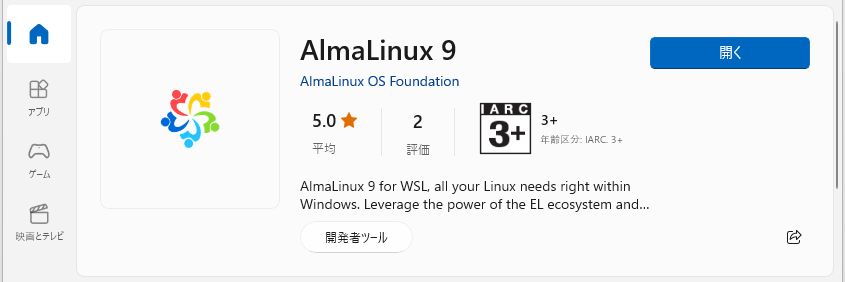
Microsoft StoreからWSL2にAlmaLinuxがインストールできるようになったので、Windows 11にインストールしました。
AlmaLinuxのインストール
WSL2版のAlmaLinuxはMicrosoft Storeからインストールできます。Rocky Linuxと共に、CentOSの代替として注目されているディストリビューションです。

「入手」ボタンでダウンロード・インストールした後、「開く」ボタンで設定を行います。まず、ユーザー名を聞かれます。
Installing, this may take a few minutes...
Please create a default UNIX user account. The username does not need to match your Windows username.
For more information visit: https://aka.ms/wslusers
Enter new UNIX username:
ユーザー名入力後に、パスワードを2回入力して設定は完了です。
Changing password for user XXXXX.
New password:
Retype new password:
passwd: all authentication tokens updated successfully.
Installation successful!
インストールされたAlmaLinuxのバージョンは「cat /etc/redhat-release」で確認できます。
$ cat /etc/redhat-release
AlmaLinux release 9.0 (Emerald Puma)
Python3は既にインストールされていました。
$ python3 --version
Python 3.9.10
パッケージのアップグレードを行います。「sudo dnf update」でも同様の処理になります。
$ sudo dnf upgradeAlmaLinuxのバージョンが9.0 (Emerald Puma)から9.1 (Lime Lynx)に上がりました。
$ cat /etc/redhat-release
AlmaLinux release 9.1 (Lime Lynx)
Python3のバージョンも3.9.10から上がっていました。
$ python3 --version
Python 3.9.14AlmaLinuxの開発環境の設定
まず、Group listを「dnf group list」で確認してみます。
$ dnf group list
AlmaLinux 9 - AppStream                                                                 3.9 MB/s | 7.0 MB     00:01
AlmaLinux 9 - BaseOS                                                                    1.5 MB/s | 2.0 MB     00:01
AlmaLinux 9 - Extras                                                                     13 kB/s |  17 kB     00:01
Available Environment Groups:
   Server with GUI
   Server
   Minimal Install
   Workstation
   Virtualization Host
   Custom Operating System
Available Groups:
   RPM Development Tools
   .NET Development
   Container Management
   Console Internet Tools
   Graphical Administration Tools
   Legacy UNIX Compatibility
   Scientific Support
   Smart Card Support
   Headless Management
   Security Tools
   System Tools
   Development Tools
   Network Servers
次に、開発環境の構築に利用される「Development Tools」の情報を確認してみます。
$ dnf group info "Development Tools"
Last metadata expiration check: 0:04:18 ago on Mon Dec 28 15:07:15 2022.
Group: Development Tools
 Description: A basic development environment.
 Mandatory Packages:
   autoconf
   automake
   binutils
   bison
   flex
   gcc
   gcc-c++
   gdb
   glibc-devel
   libtool
   make
   pkgconf
   pkgconf-m4
   pkgconf-pkg-config
   redhat-rpm-config
   rpm-build
   rpm-sign
   strace
 Default Packages:
   asciidoc
   byacc
   diffstat
   git
   intltool
   jna
   ltrace
   patchutils
   perl-Fedora-VSP
   perl-generators
   pesign
   source-highlight
   systemtap
   valgrind
   valgrind-devel
 Optional Packages:
   cmake
   expect
   rpmdevtools
   rpmlint
では、実際に「Development Tools」をインストールして開発環境を設定します。Optional Packagesまで全てインストールするには以下のコマンドを使います(改行しません)。
$ sudo dnf groupinstall "Development Tools" --setopt=group_package_types=mandatory,default,optionalGCCのバージョンは11.3.1でした。
$ gcc --version
gcc (GCC) 11.3.1 20220421 (Red Hat 11.3.1-2)
Copyright (C) 2021 Free Software Foundation, Inc.
This is free software; see the source for copying conditions.  There is NO
warranty; not even for MERCHANTABILITY or FITNESS FOR A PARTICULAR PURPOSE.
Optional PackagesのCMakeもインストールできました。
$ cmake --version
cmake version 3.20.2

CMake suite maintained and supported by Kitware (kitware.com/cmake).
Javaのバージョンは11でした。今ならLTSのバージョン17にしたくなります。
$ java -version
openjdk 11.0.17 2022-10-18 LTS
OpenJDK Runtime Environment (Red_Hat-11.0.17.0.8-2.el9_0) (build 11.0.17+8-LTS)
OpenJDK 64-Bit Server VM (Red_Hat-11.0.17.0.8-2.el9_0) (build 11.0.17+8-LTS, mixed mode, sharing)
インストールされているJavaのパッケージ名を調べます。
$ dnf list installed | grep -i java
java-11-openjdk-headless.x86_64             1:11.0.17.0.8-2.el9_0            @appstream
javapackages-filesystem.noarch              6.0.0-3.el9                      @appstream
tzdata-java.noarch                          2022g-1.el9_1                    @appstream
パッケージ「java-11-openjdk-headless.x86_64」を削除します。
$ sudo dnf remove java-11-openjdk-headless.x86_64そして、Javaのバージョン17をインストールします。
$ sudo dnf install java-17-openjdkJavaの実行環境JREがバージョン17.0.5になりました。Javaの開発環境JDKも必要な場合は、パッケージ「java-17-openjdk-devel」もインストールします。
$ java -version
openjdk 17.0.5 2022-10-18 LTS
OpenJDK Runtime Environment (Red_Hat-17.0.5.0.8-2.el9_0) (build 17.0.5+8-LTS)
OpenJDK 64-Bit Server VM (Red_Hat-17.0.5.0.8-2.el9_0) (build 17.0.5+8-LTS, mixed mode, sharing)